
What is this about?
Two days ago OpenAI released ChatGPT, a new language model which is an improved version of GPT-3 and, possibly, gives us a peek into what GPT-4 will be capable of when it is released early next year (as is rumoured). With ChatGPT it is possible to have actual conversation with the model, referring back to previous points in the conversation.
I wanted to try out if I could use this model as a pair programmer that I can give some instructions and it produces the code for me. I would still double-check those code snippets, of course, but at least I won’t have to write them from scratch anymore.
So in this blog post I describe how I used ChatGPT to create a simple sentiment analysis application from scratch. The app should run on an EC2 instance and utilise a state-of-the-art NLP model from the Hugging Face Model Hub. The results were astonishing 😮
Full disclaimer — I had to try and refine the prompts a few times to get the results I wanted. That being said, it usually took only minor refinements to get the desired results. My prompts and the code generated by the model can be found in this GitHub repo.
Why is this important?
You’re joking, right?
Let’s get started
Ok, let’s get started! Let’s first check if ChatGPT is willing to help:
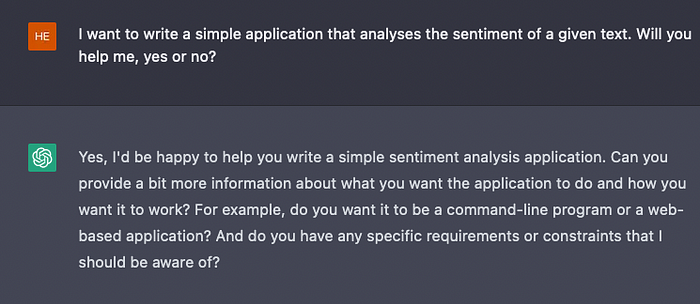
Ok, this is a promising start 😊 Let’s dive into the details, as requested by our companion!
Creating a CloudFormation template for the EC2 instance
We want to run this application on an EC2 instance, but we don’t want to click through the AWS console to create this EC2 instance. Therefore, our first task for ChatGPT is to create a CloudFormation template that sets up the EC2 instance:
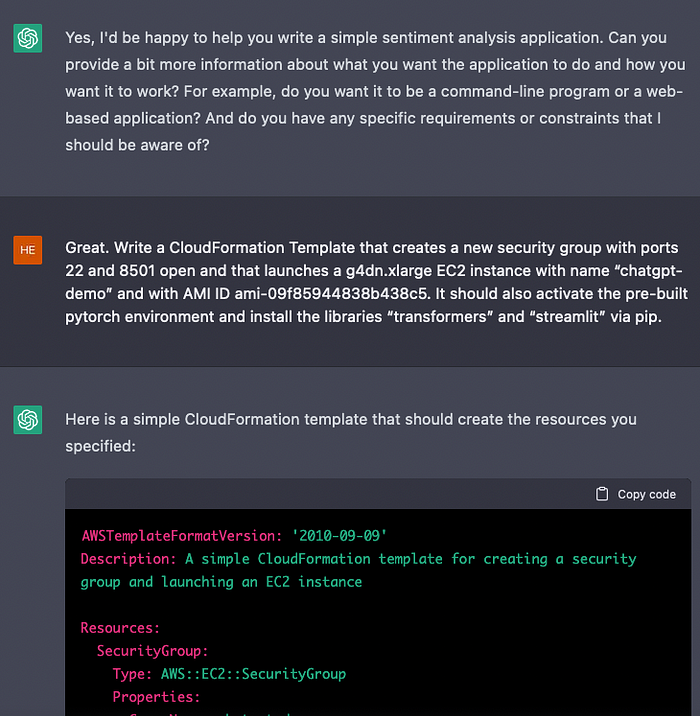
The instruction are rather specific (I had to look up the AMI ID myself, for example), but still I was quite surprised that it came out with an almost perfect CF template. Note that ChatGPT also puts some disclaimers at the end of the code:
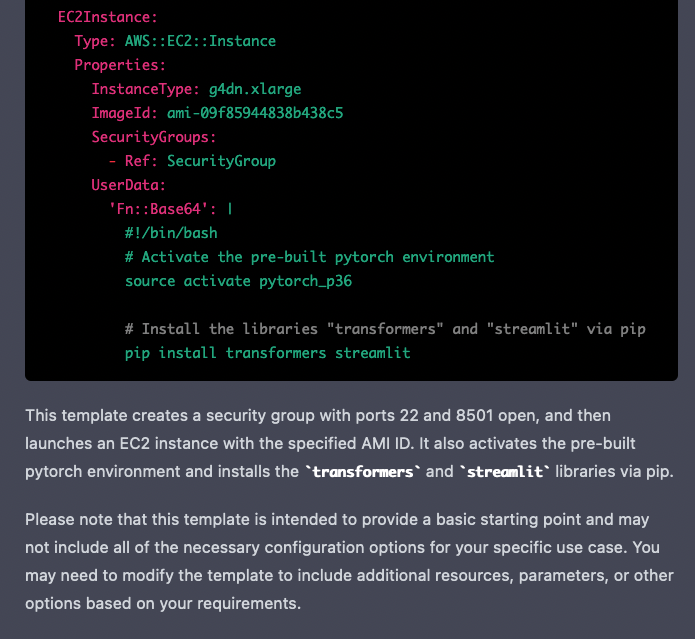
The entire code produced by ChatGPT:
AWSTemplateFormatVersion: '2010-09-09'
Description: A simple CloudFormation template for creating a security group and launching an EC2 instance

Resources:
  SecurityGroup:
    Type: AWS::EC2::SecurityGroup
    Properties:
      GroupName: chatgpt-demo-sg
      GroupDescription: Security group for chatgpt-demo EC2 instance
      SecurityGroupIngress:
        - IpProtocol: tcp
          FromPort: 22
          ToPort: 22
          CidrIp: 0.0.0.0/0
        - IpProtocol: tcp
          FromPort: 8501
          ToPort: 8501
          CidrIp: 0.0.0.0/0

  EC2Instance:
    Type: AWS::EC2::Instance
    Properties:
      InstanceType: g4dn.xlarge
      ImageId: ami-09f85944838b438c5
      SecurityGroups:
        - Ref: SecurityGroup
      UserData:
        'Fn::Base64': |
          #!/bin/bash
          # Activate the pre-built pytorch environment
          source activate pytorch_p36

          # Install the libraries "transformers" and "streamlit" via pip
          pip install transformers streamlit
Note that the EC2 instance actually doesn’t receive the name we specified in the prompt. But ok, let’s live with that for now. Another “bug” in this template is that the pre-installed Pytorch environment on the AMI is called “pytorch” not “pytorch_36”. Let’s fix that by replacing the environment name.
Now, how do we actually run this? Let’s ask ChatGPT:
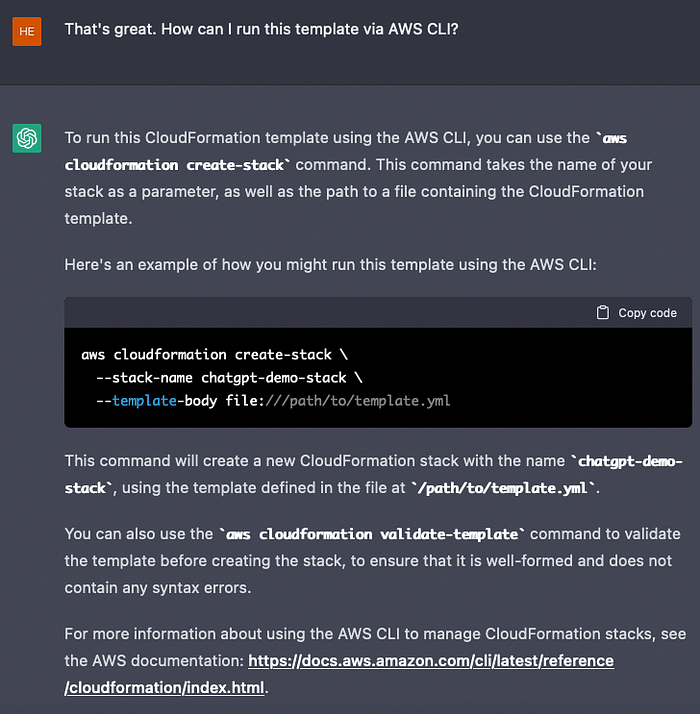
Ok, running this line kicked off the Stack creation using the CF template. After a few minutes we see the EC2 instance is up and running. Note that the template created a security group and the EC2 instance used that security group like specified:

Let’s also SSH into the EC2 instance to see if the packages we need are installed:
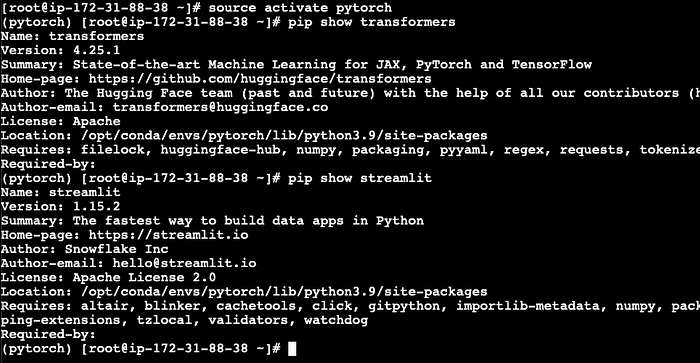
Looks like everything is set up for the Streamlit app 😊
Streamlit application
Now we need an application that runs on Streamlit and that analyses the sentiment of text. To my surprise this was even easier than I expected:
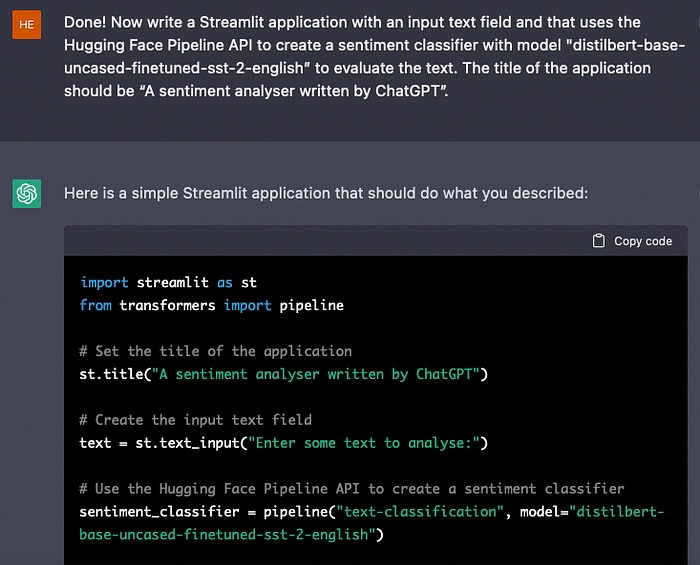
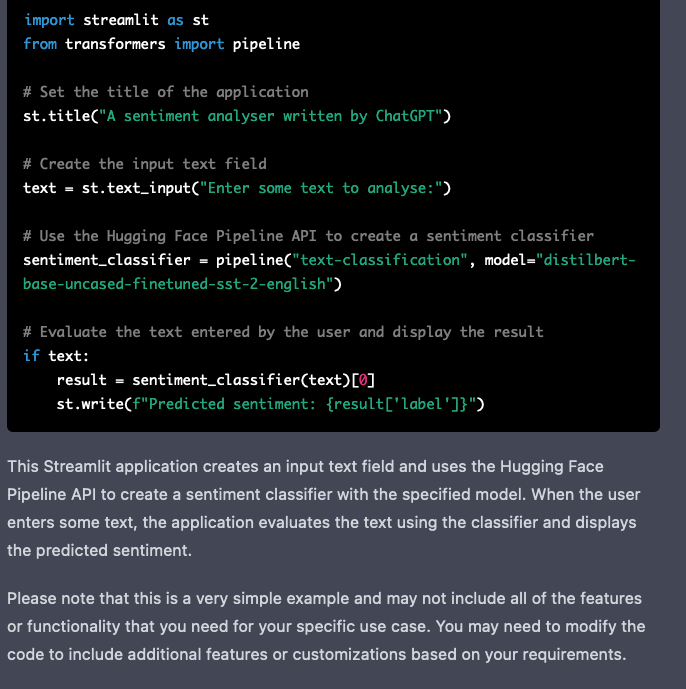
Again, nice disclaimer at the end.
The entire code:
import streamlit as st
from transformers import pipeline

# Set the title of the application
st.title("A sentiment analyser written by ChatGPT")

# Create the input text field
text = st.text_input("Enter some text to analyse:")

# Use the Hugging Face Pipeline API to create a sentiment classifier
sentiment_classifier = pipeline("text-classification", model="distilbert-base-uncased-finetuned-sst-2-english")

# Evaluate the text entered by the user and display the result
if text:
    result = sentiment_classifier(text)[0]
    st.write(f"Predicted sentiment: {result['label']}")
This actually looks good to me, let’s try to run this without modifications. Copy and pasting this code into a file on EC2 called “app.py”. But how do we run Streamlit apps again? Let’s ask our “colleague”:
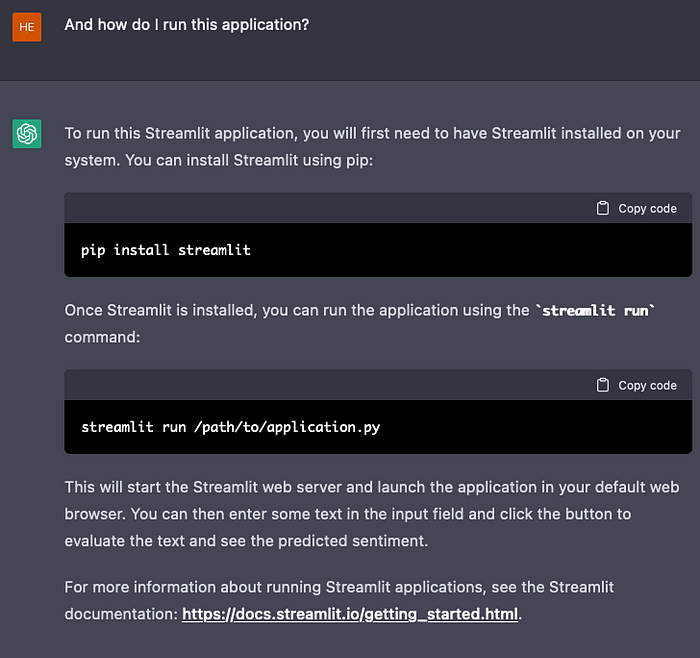
We already have Streamlit installed so let’s go ahead and run “streamlit run app.py”:

Seems all good!
Testing the application
Now comes the moment of truth. We plug in the URL streamlit exposed and see if the app runs.
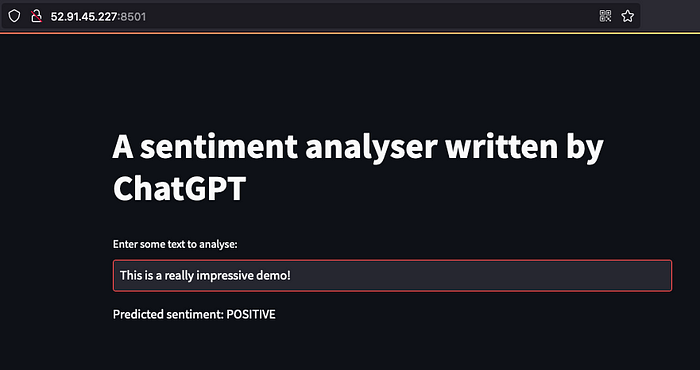
Wow, ChatGPT just built an entire text sentiment app just with our instructions 🤯
